What’s the Big Deal About Ashtanga Yoga?
You might be surprised that this sweaty, structured practice is actually one of the most grounding things you can do for your nervous system. Instead of guessing what to do each day, you follow a clear sequence, so your brain chills out while your body works. Over time, you notice your focus sharpening at work, you sleep a bit deeper, and your mood stops swinging all over the place. It’s like a moving ritual that quietly organizes the rest of your life.
The Basics of Ashtanga
Unlike drop-in flow classes where anything can happen, Ashtanga sticks to a set series of poses in a specific order, synced tightly with your breath. You move through sun salutations, standing, seated, and finishing poses at about one breath per movement, which is why it can feel like a workout and meditation mashed together. The practice is usually done 6 days a week, in the morning, so your body starts to adapt and you stop overthinking what comes next.
Why It’s Gaining Popularity
What’s wild is that in a world obsessed with “choose your own adventure,” Ashtanga’s rigid structure is exactly what many people crave right now. You get a predictable sequence, measurable progress, and a built-in way to track how your body changes month by month. Apps, online Mysore programs, and Zoom shalas have made it accessible if you don’t have a local studio. So your practice can live right in your living room, and still feel legit.
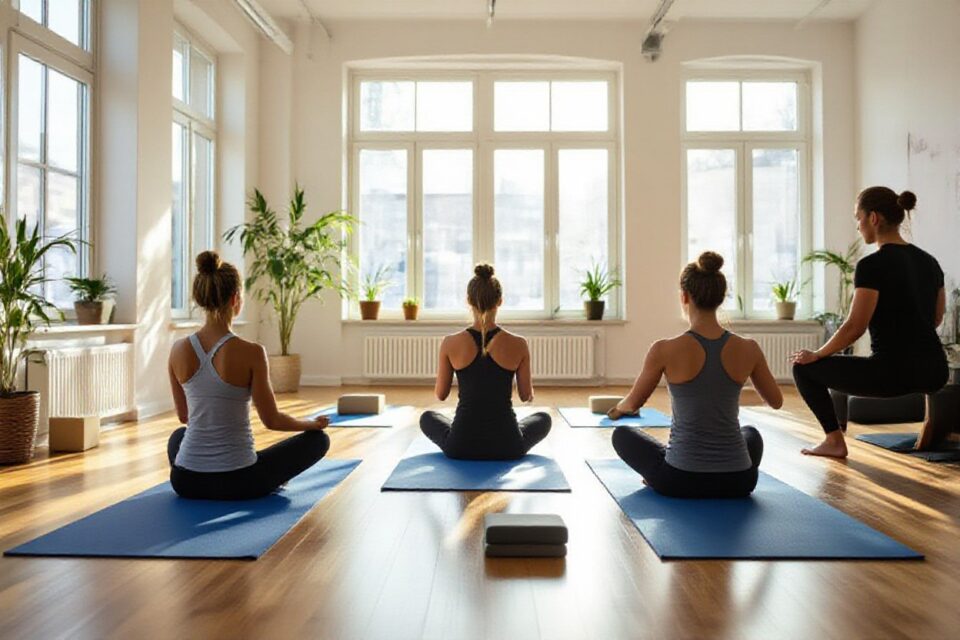
In a lot of modern studios you’ll see people who came to Ashtanga for fitness quietly staying for the mental health perks, because the discipline kind of sneaks up on you. You start by wanting stronger arms from all those chaturangas, then suddenly you’re waking up earlier, drinking less, scrolling less at night, just so you can actually show up on the mat. Teachers in places like Copenhagen, New York, and Melbourne report packed Mysore rooms at 6 am, which would’ve sounded ridiculous 10 years ago, but now people are actively hunting for that kind of structured, tech-free time.
My Take on Getting Started with Ashtanga
You might be surprised that the hardest part of Ashtanga isn’t the jumps or the binds, it’s showing up to your mat when you’d rather do literally anything else. If you keep it simple – same time, same mat, same basic sequence – your body starts to crave the routine. You’re not trying to be “good at yoga”, you’re just testing what happens when you move and breathe the same way, day after day, and let the practice slowly shape you.
The Right Mindset for Beginners
You actually make the fastest progress when you stop chasing progress. When you treat the Primary Series like a lab experiment on your own body and mind, every wobble, flop, or skipped vinyasa becomes data, not failure. Some days you’ll nail a posture, the next day it disappears, and that’s fine. If you can be curious instead of judgmental, you’ll stick with it longer than the super-flexy folks who burn out in month two.
Tools You’ll Need (and What You Don’t)
You need far less gear than Instagram would have you believe. A grippy mat, a towel if you sweat a lot, and maybe two blocks will comfortably carry you through your first year. You don’t need fancy leggings, incense, or a $200 mat to focus on breath counts and drishti. If your setup lets you move safely without sliding all over the place, you’re already good to go.
What usually matters way more than gear is consistency and a space you actually like being in. A basic 4 mm mat with decent grip can last you 300 to 500 practices, which for most beginners is one to two years if you’re practicing 3 times a week. Blocks can be cheap foam ones from a sports store, and a folded blanket or old towel works as a cushion for knees or sitting. You can skip straps at first by just bending your knees and working with shorter ranges of motion, plus you’ll learn better alignment that way. If budget is tight, start near a wall instead of buying props, it gives you support for balance poses and jump-backs without costing a cent.
Seriously, What Are the Different Styles?
You care how this fits your real life, right? In the Ashtanga world you bump into things like counted led classes, quieter Mysore rooms, and sometimes “Half Primary” beginner options. Some studios mix in alignment cues every five breaths, others keep it old school and barely talk. It can feel like ten totally different practices, even though the sequence is technically the same.
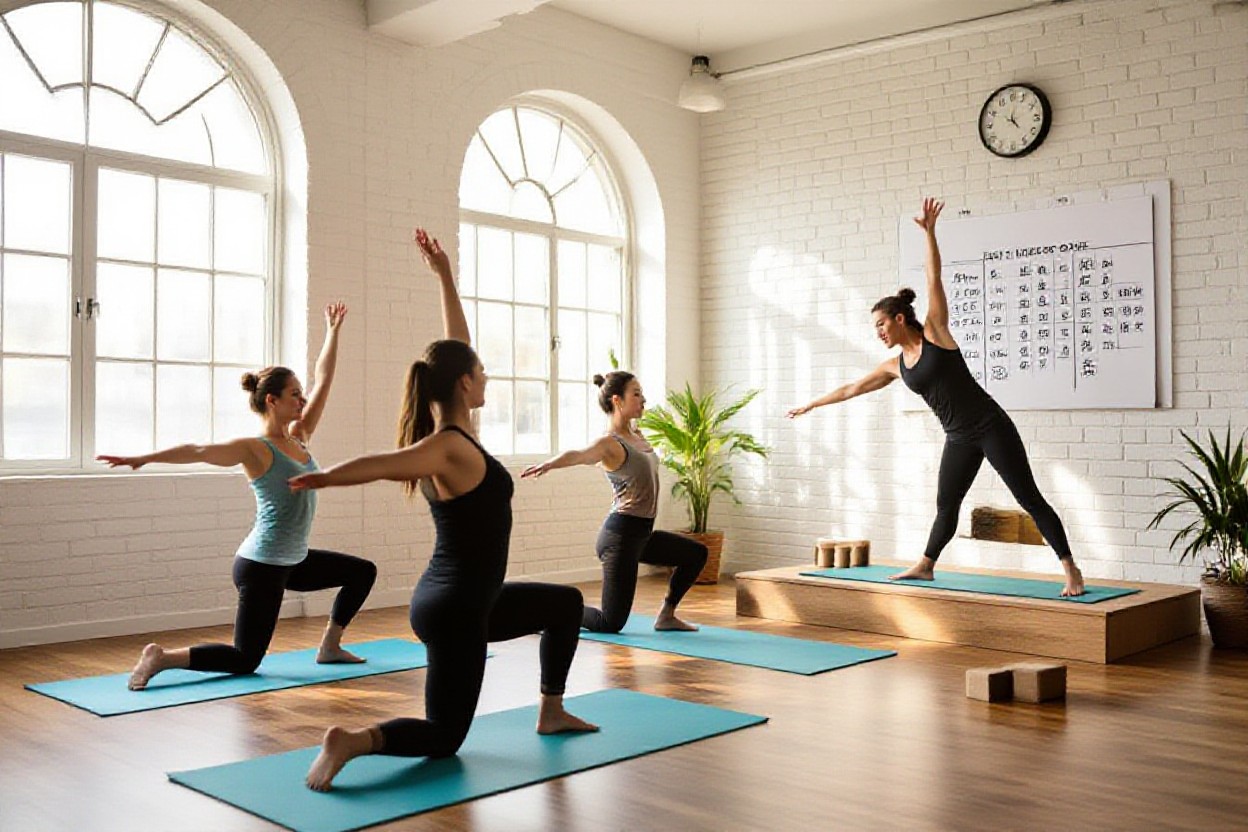
Different Flavors of Ashtanga
At one studio you might get a fast 75-minute Half Primary blasting through vinyasas, at another a slow 2-hour full Primary with long holds and detailed adjustments. Some teachers follow traditional KPJAYI counting, others adapt for knees, backs, pregnancy, you name it. You’ll see Mysore-style self-paced mornings at 6am, plus once-a-week led Primary to test your stamina and memory.
Which Style is Right for You?
If you love structure but hate being rushed, a calm Mysore room where you move at your own speed probably fits better than a packed led class. Early birds tend to thrive in traditional morning Mysore, while busy parents might prefer a shorter evening Half Primary. Your current body matters too – if you’re healing an injury, a slower, more prop-friendly approach is your best friend.
Think about your energy patterns first: if you’re wiped after work, a 90-minute led Primary at 7pm will feel like climbing Everest in flip-flops, so a quieter Mysore morning or a 60-minute Half Primary might be smarter. Pay attention to teaching style too – do you like precise alignment cues every pose, or do you prefer minimal talking so you can zone in? Try at least three classes with the same teacher before deciding, because the first one is usually just you figuring out where to put your mat and when to breathe. And if a studio offers intro Mysore weeks or beginner intensives, those are gold for easing in without feeling like everyone else got the secret manual and you didn’t.
Here’s How to Nail Your First Class
You actually “nail” your first Ashtanga class by not trying to nail it at all. You show up, breathe, and let the sequence move you instead of forcing the shapes. Think of it like learning a song by ear: your teacher counts, you follow along, and each round your body picks up another tiny detail. If you can inhale, exhale, and stay curious for 60 minutes, you’ve already done far more than most people who only ever google Ashtanga and never roll out a mat.
What to Expect on Day One
You might be surprised how quiet the room feels, even with 15 people moving in sync. On day one you usually start at the front of your mat, follow the teacher’s count, and repeat the same sun salutations 8 to 10 times, which sounds like a lot but flies by once the breath kicks in. Expect to get a bit lost, sweat more than you thought, and forget half the alignment cues. That’s normal – your main job is to keep breathing and not bolt for the door.
Common Misconceptions About Beginners
Most people think they have to be flexible, strong, or “spiritual” before they step into an Ashtanga room, which is kind of like thinking you need to be fluent in Spanish before taking Spanish 101. You don’t need to touch your toes, hold plank for 2 minutes, or know what vinyasa means. You just need a body that can breathe and a willingness to try. The practice is literally designed to meet you where you are, not where Instagram thinks you should be.
What really throws new folks off is the idea that everyone else in the room started as a gymnast or lifelong athlete. In most Mysore rooms I’ve practiced in, at least 70% of students started in their 30s or 40s, many with tight hamstrings, desk-job shoulders, and cranky lower backs. You might see someone floating to handstand and assume they’re “advanced”, but if you chatted with them you’d probably hear about their first year of falling out of half the poses, needing props, or taking 3 breaths just to get off the floor. Another big myth is that teachers expect you to keep up with the full Primary Series right away. In reality, a good Ashtanga teacher will cut your sequence short, repeat the first few poses, or swap tricky transitions for simpler ones, especially in the first 10-20 classes while your nervous system is figuring out the pattern. So if you’re worried you’re too stiff, too old, too unfit, or too anxious, you’re actually the exact kind of person this method was built for.
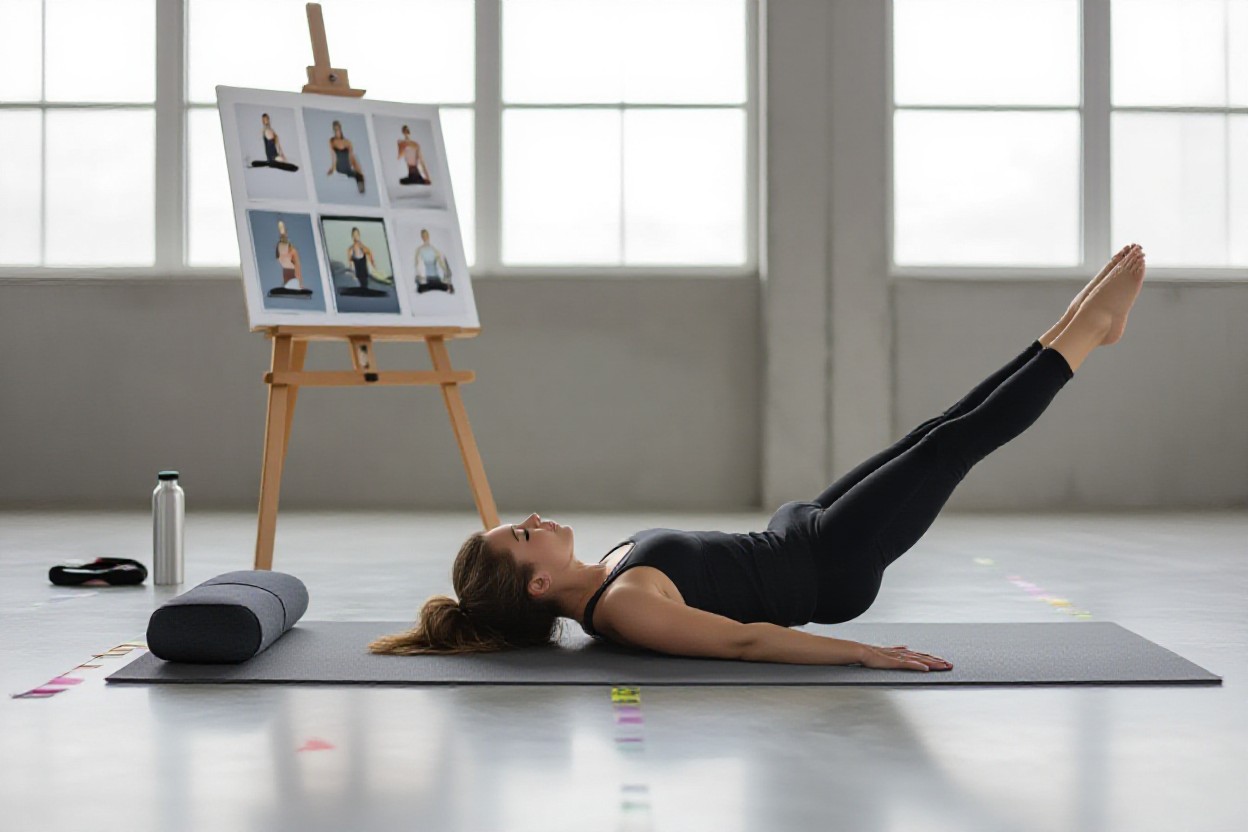
Let’s Talk Poses: Your Beginner Sequence
These first Ashtanga poses are where your body starts to get the rhythm, so you want a sequence that feels doable but still wakes everything up. You can follow a simple flow like the ones in 6 Simple Ashtanga Yoga Sequences for Beginners and use it as your weekly baseline. Over a few sessions you’ll notice your forward folds deepen, your balance settle, and your breath lining up with each move almost without you trying.
The First Few Poses You Should Learn
Starting with Surya Namaskara A and B, you get a full-body warm-up that’s basically your Ashtanga handshake. You’ll cycle through mountain pose, forward fold, half lift, plank, low push-up, upward facing dog, and downward facing dog. Each pose teaches you something different about your body: how your hamstrings feel today, how strong your core actually is, how your shoulders handle weight. Over a couple of weeks, this little set becomes your home base on the mat.
Tips for Mastering Each Pose
Technique matters here because small tweaks save you from sore wrists, cranky knees, and that tight lower back that shows up the next morning. Keep your feet hip-width in down dog, spread your fingers wide in plank, and bend your knees as much as you need in forward folds so your spine stays long instead of angry. Tiny adjustments, like lifting your kneecaps in standing poses or hugging your elbows close in chaturanga, add up fast.
- Work with a mirror or quick phone video once a week to spot rounded backs or collapsing shoulders.
- Count slow breaths (try 5) in each pose so you’re not rushing the tough bits and zoning out in the easy ones.
- Use props unapologetically: blocks under your hands, a strap around tight hamstrings, even a folded blanket under your knees.
- Track 1 or 2 cues per session instead of everything at once, like “press through big toes” or “relax jaw and tongue.”
- After a month of consistent practice, compare how long you can hold plank or down dog without shaking and you’ll see exactly how far you’ve come.
Going deeper with these tips, you start to notice that “good form” isn’t about looking pretty in a pose, it’s about weight distribution and smart leverage. Try shifting 5-10% more weight into your legs in down dog and your wrists suddenly feel lighter, or slightly tucking your tail in plank and your core wakes up like it’s been called out. Give yourself 3 tries per pose: first to feel it, second to tweak alignment, third to breathe into the new shape.
- Pick one pose per session to refine and treat it like a mini workshop rather than blasting through the whole sequence.
- Pair breath counts with entrance and exit, like inhaling for 3 as you rise and exhaling for 3 as you fold, so your nervous system chills out.
- Jot quick notes after class like “knees happier with blanket” or “wider stance in warrior feels safer” to lock in what works.
- Film a 20-second clip each week in the same pose to see how micro-adjustments change your lines and ease.
- After you stack a few weeks of these tiny experiments, your beginner sequence will feel less like guesswork and more like a practice that actually fits your body.
Breathing & Meditation: Why You Can’t Skip This Part
Lately you see more teachers talking about “nervous system regulation” in class, and that’s exactly what your breath and mind work are doing for your Ashtanga. When you sync breath with movement for just 10 to 20 minutes, your heart rate settles faster, your focus sharpens, and you stop muscling through every pose. You start to notice when you’re clenching your jaw, rushing a vinyasa, or spacing out in standing. All of a sudden, practice feels less like a workout and more like you actually plugged yourself in to recharge.
The Real Deal About Ujjayi Breathing
On every Ashtanga mat you hear that soft ocean sound, but you don’t need to force it or sound like Darth Vader. Ujjayi is simply you breathing in and out through your nose with a slight constriction at the back of your throat, like you’re fogging a mirror with your mouth closed. Try 4-second inhales, 4-second exhales for 25 breaths and feel how your ribs expand all around, not just forward. You want steady volume, steady rhythm, especially when the poses get spicy.
Simple Meditation Techniques for Newbies
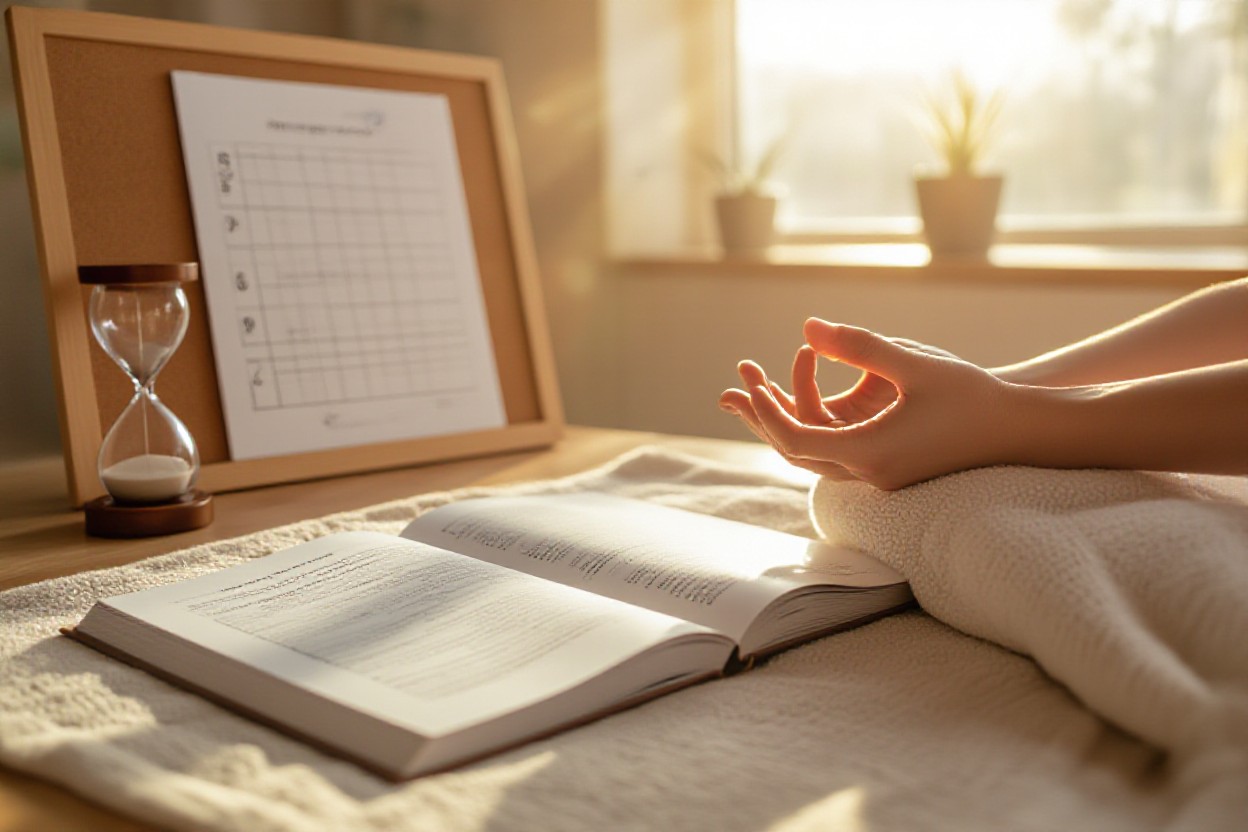
Most beginners think meditation means sitting totally still for 30 minutes, but you can start with 3 to 5. Sit after practice, close your eyes, and simply track your inhale as “1”, exhale as “2”, up to 10 then start again. When your mind wanders to dinner or emails, you just gently come back to counting. You could also do a basic body scan from toes to scalp for one song on your playlist and let that be enough for today.
To unpack that a bit more, you might find counting breaths way easier than trying to “stop thinking”, which never really works anyway. You sit comfortably, set a 5 minute timer on your phone, then breathe in and out through your nose, counting up to 10 and looping back, and if you lose the count (you will) you just restart at 1 with zero drama. Some days you might swap it for a super simple body scan: notice your feet on the floor, your legs, your seat on the mat, your hands, your jaw, your forehead, spending about 5 to 10 seconds on each. Over a couple of weeks, this tiny ritual starts to bleed into your life outside class – you catch yourself taking 3 counted breaths before replying to a stressful text, or doing a 1 minute body scan in the car before walking into work.
How to Keep it Going: Staying Motivated
Most people think motivation is this magical surge that shows up before you step on the mat, but in Ashtanga it usually shows up after you start moving. You keep it going by lowering the bar on “perfect” and raising the bar on “consistent” – even 15 minutes counts. Track your days in a notebook, celebrate 10-practice streaks, and use small rewards like a new mat towel after a month. When motivation dips (and it will), you lean on habit, not hype.
Create Your Own Routine
A lot of beginners assume they have to copy some 90-minute textbook Mysore schedule, but your routine can be way more flexible and still be legit. You might do 20 minutes on weekdays, full sequence on Sunday, and one total rest day, that still adds up to over 5 hours a week. Keep specific anchors: same practice time, same corner of your room, same opening breath count. When life gets messy, you shrink the practice, you don’t skip it.
Finding a Community to Lift You Up
People often think Ashtanga is this lone-wolf, self-practice thing, yet students who stick with it usually have some kind of crew around them. You can join a local Mysore room, follow a livestream studio, or jump into an online group where folks post weekly wins and wipeouts. Even one accountability buddy who texts “on the mat?” can double your follow-through. The point isn’t perfection, it’s knowing you’re not grinding this out alone.
When you dig a little deeper into this community piece, you start to see patterns: students in long-term Ashtanga studies often report that the social glue is what kept them going through plateaus and injuries. You might start with a once-a-week led class, learn your breath count there, then practice the first 20 minutes at home while checking in with the same teacher on Zoom every month. Some people join WhatsApp or Discord groups where they share sweaty mat photos at 6 a.m. or log their weekly practice totals, and that tiny bit of peer pressure helps more than any fancy motivation quote. If in-person studios are scarce where you live, look at international Mysore programs that offer trial weeks, recorded Q&A calls, or monthly posture clinics so you still feel seen, corrected, and part of something bigger than your living room floor.