Kickstarting Your Energy Bar Journey
Starting with just three ingredients narrows your focus but opens endless possibilities. You might mix dates, oats, and almond butter for a chewy, nutrient-packed bar with around 200 calories per serving—perfect for a quick pre-workout boost. Experimenting with different nut butters like cashew or peanut brings subtle flavor shifts, while swapping in chia or flax seeds can enhance texture and add omega-3s. Tracking your ingredient ratios carefully lets you fine-tune sweetness and chewiness, making each batch uniquely yours as you hone the perfect balance between taste and energy.
The Magic of Minimalism: Choosing Your Three Ingredients
Minimalism in your energy bars means each ingredient needs to pull double duty—taste, texture, and nutrition. For example, dates offer natural sweetness and a chewy texture, while nuts like almonds provide healthy fats and a satisfying crunch. Seeds such as chia bring fiber and a subtle nutty flavor. By thoughtfully selecting ingredients that complement one another, you maximize flavor without overcomplicating the recipe, leaving you with a wholesome, energizing snack that’s easy to customize and perfect for your needs.
Nutritional Profiles: What Each Ingredient Brings to the Table
Your choice of ingredients directly impacts the energy bar’s nutritional value. Dates pack quick-digesting sugars and potassium, fueling instant energy. Nuts lend you protein and monounsaturated fats, aiding muscle repair and sustained energy release. Seeds like flax or chia add omega-3 fatty acids and fiber, supporting heart health and digestive regulation. Combining these ensures a balanced mix of carbs, fats, and protein, turning your snacks into compact powerhouses tailored exactly to your activity level and dietary goals.
Pairing for Flavor and Function: Balancing Texture and Taste
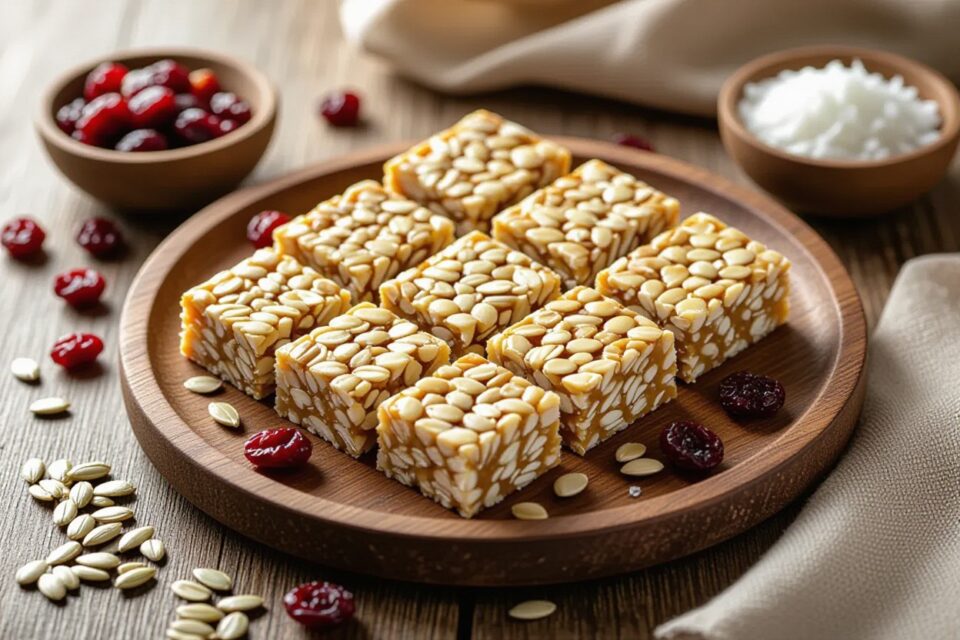
Creating harmony between taste and texture elevates your bars beyond just nutrition. Pair sticky, sweet ingredients like dates with crunchy nuts or seeds to provide contrast and satisfy both your sweet tooth and craving for bite. Adding a pinch of sea salt can deepen sweetness, while a dash of cinnamon or cocoa nibs introduces complexity. Each element plays off the others, turning simple ingredients into a snack that feels indulgent and sustaining, encouraging you to reach for it time and again.
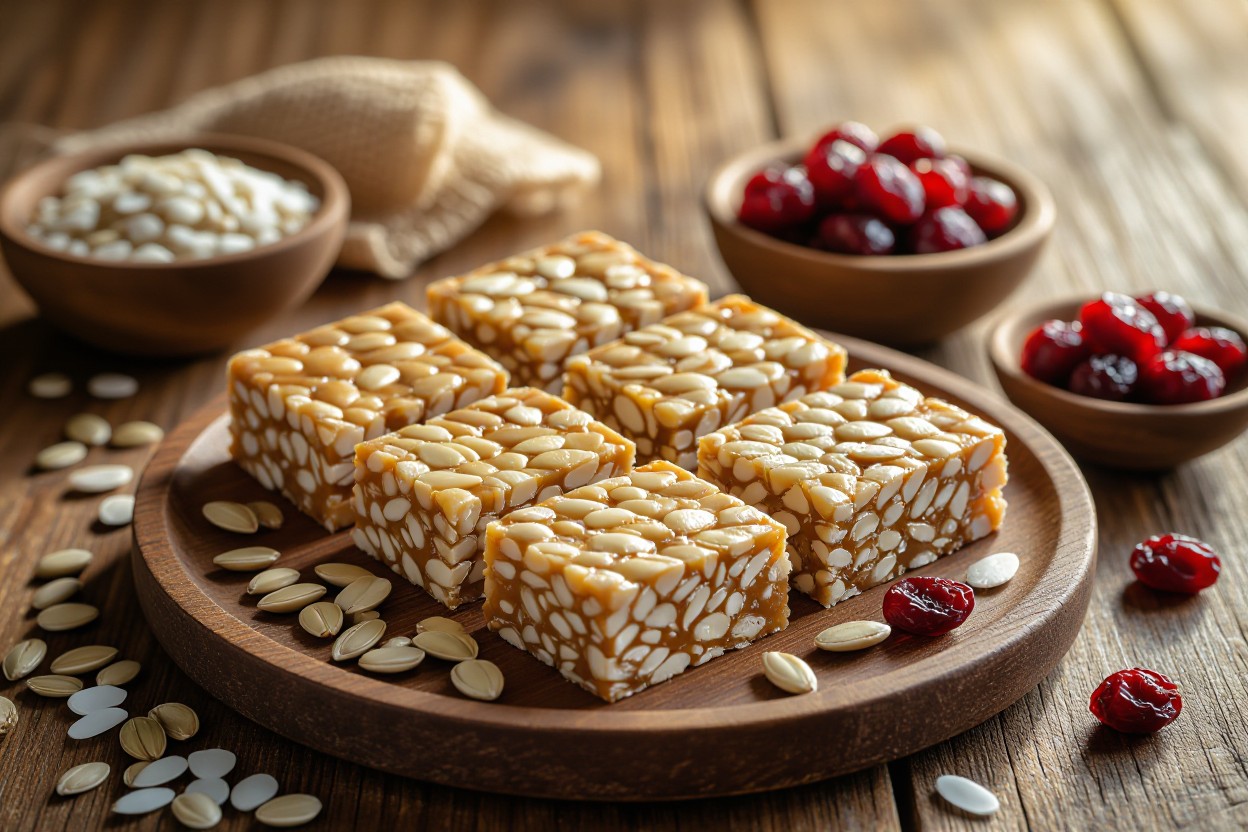
Exploring flavor and texture pairings lets you customize your bars to perfection. For example, combining creamy peanut butter with chewy dried cherries and toasted sunflower seeds creates complex layers—richness from the nut butter, tartness from the fruit, and crunch from the seeds. You can tweak ratios to suit your preference: more seeds for crunch or extra dried fruit for chewiness. This balance keeps your bars interesting and prevents monotony, making your homemade energy bars as enjoyable as they are functional.
Crafting the Perfect Energy Bar at Home
The magic of creating your own energy bars lies in balancing texture and flavor with just three simple ingredients. By carefully selecting your base, binder, and flavor enhancer, you control every bite’s taste and nutritional value. Using a food processor to combine dates with nuts or oats delivers a consistent mix, while avoiding over-processing preserves valuable fiber. As you experiment, you’ll notice how slight changes in ingredient ratios can significantly affect chewiness or crunch. Assume that the perfect homemade energy bar is all about your personal taste and the ideal power boost you seek.
Simple Steps to Mixing: The Do’s and Don’ts
Start by pulsing your base ingredient until it forms a coarse meal before adding the binder, ensuring a balanced texture without turning sticky or mushy. Don’t dump all ingredients at once; introduce the flavor enhancer gradually to maintain control over sweetness and density. Overmixing can lead to a dense, heavy bar that lacks the lightness you want after a workout. Assume that blending with patience and moderation allows you to craft an energy bar that holds together but remains easy to chew.
Tips for Pressing and Setting: Achieving the Ideal Consistency
Press the mixture firmly but evenly into your lined pan to avoid crumbling after cutting. Using a spatula or the bottom of a glass helps distribute pressure uniformly and compacts the ingredients into a cohesive block. Don’t skip chilling; refrigerating for at least two hours solidifies the bars perfectly. Experiment with pressure levels—too light results in bars falling apart, but over-pressing can make them too dense. Assume that consistent pressing and setting yield the ideal balance between firmness and chewiness in your energy bars.
Achieving the best pressing and setting for your energy bars depends on moisture content and ingredient texture. For example, using moist dates alone might require less pressing but longer chilling; adding dry oats or nuts demands more firm compression. Wrapping the pressed layer tightly with plastic wrap prevents drying out during refrigeration, contributing to better shape retention. If your bars crumble post-chilling, increasing pressure during pressing or adding a small amount of natural sweetener like honey can improve binding. Assume that finding your perfect pressing technique takes trial but results in bars ready to power your day.
- Press mixture evenly to avoid crumbling
- Chill bars for at least two hours
- Wrap tightly to maintain moisture
- Adjust pressure based on ingredient moisture
- Assume that adjusting these factors fine-tunes your energy bar consistency
Customization Station: Adding Your Personal Touch
Once you master the basic three-ingredient formula, you’ll find the real fun lies in personalizing your bars. Experiment with texture by tossing in crunchy nuts or silky nut butters, or enhance flavor with a pinch of sea salt or a sprinkle of cinnamon. Your preferences steer the flavor and nutrition, letting you craft bars perfect for a mid-afternoon boost or a pre-workout snack. Tailoring each batch keeps your energy bars from ever feeling monotonous, encouraging you to explore new combinations that suit your taste buds and lifestyle.
Mix-Ins and Variations: Sweetening the Deal
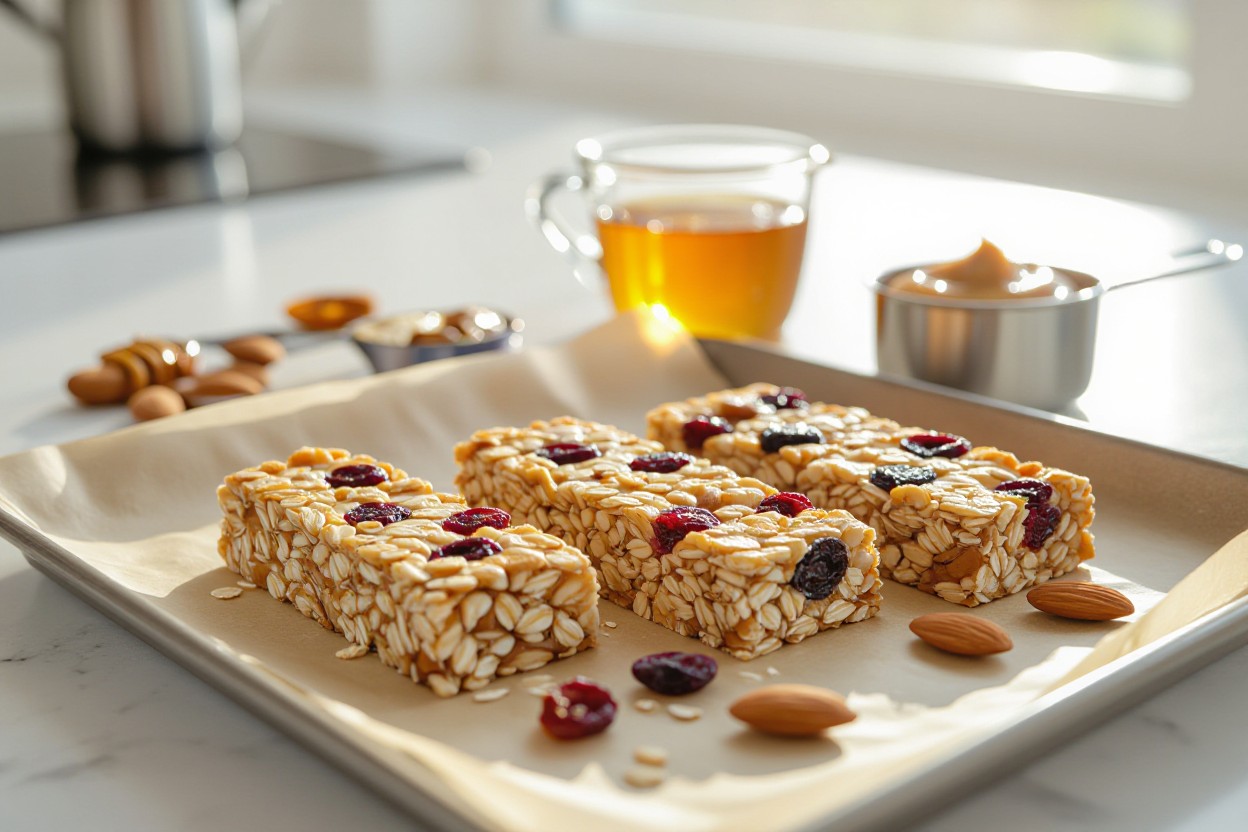
Adding mix-ins like shredded coconut, mini dark chocolate chips, or dried fruits such as cranberries transforms your energy bars from simple to spectacular. For a natural sweetness and added crunch, chopped almonds or walnuts do wonders. Incorporating seeds, like chia or flax, boosts fiber and omega-3 fatty acids, supporting sustained energy release. With just a few tweaks, these bars become personalized powerhouses, enabling you to enjoy a sweet touch without sacrificing health benefits.
Creating Seasonal Flavors: Inspiring Recipes to Try
Infusing your energy bars with seasonal flavors introduces variety aligned with the time of year. Think pumpkin puree and cinnamon in autumn, fresh ginger and lemon zest come spring, or coconut and pineapple for a summer vibe. These infusions not only tantalize your taste buds but also incorporate timely nutrients found in seasonal ingredients, making each bite both delightful and nourishing.
Exploring seasonal flavors opens doors to exciting ingredient pairings that resonate with your environment and mood. For example, blending mashed pumpkin with warm spices like nutmeg and clove during fall can boost antioxidants, while adding fresh mint and lime zest in summer offers a refreshing twist rich in vitamin C. Embracing these rotating tastes helps keep your homemade energy bars aligned with natural cycles and flavors that complement your daily rhythm.
Storage Solutions: Keeping Your Energy Bars Fresh
Storing homemade energy bars properly can greatly extend their enjoyment without sacrificing taste or texture. Keep them in an airtight container at room temperature for up to a week, ideally in a cool, dry place away from direct sunlight. For bars with perishable ingredients like fresh fruit or dairy, refrigeration slows spoilage. Use wax paper or parchment between layers to prevent sticking. By organizing your storage space thoughtfully, you’ll have easy access to your snacks throughout the week, ensuring they stay soft and chewy or delightfully crisp depending on your recipe.
Best Practices for Shelf Life
For longer shelf life, vacuum-sealing your bars can reduce oxygen exposure that leads to rancidity and mold growth. If you’re packing bars for days away, individually wrap them in plastic wrap or reusable silicone bags to preserve freshness. Avoid storing bars near strong odors, as nuts and dried fruits absorb surrounding smells. Tracking the date of preparation on containers helps you rotate batches and use the oldest first, minimizing waste and always delivering optimal flavor and energy boost.
Freezing for Longevity: How to Preserve Your Snacks
Freezing energy bars offers a straightforward way to extend their lifespan up to 3 months without compromising quality. Wrap each bar tightly in plastic wrap and place them in a freezer-safe zip-top bag or airtight container to prevent freezer burn. Allow bars to thaw at room temperature or in the fridge before eating to maintain texture and taste. This method is especially handy if you make large batches and want to stock up for busy weeks or unexpected adventures.
Delving deeper into freezing, the rapid drop to subzero temperatures halts microbial growth and enzymatic reactions that otherwise degrade your bars. Ensure bars cool completely before wrapping to avoid condensation, which can cause sogginess during thawing. Labeling each frozen batch with dates and ingredients keeps you organized and informed, allowing you to cycle through your stock efficiently. With these steps, your homemade energy bars stay just as satisfying months later, providing a reliable energy boost whenever you need it.
Final Words
Upon reflecting on how to make 3-ingredient energy bars at home, you’ll see just how simple and satisfying it can be. With just a few basic ingredients, you can create a tasty, nutritious snack that fits your lifestyle and keeps you energized throughout the day. Plus, making them yourself allows you to customize flavors to your liking. Enjoy the process and the delicious results—your homemade energy bars are sure to become a favorite go-to snack!
FAQ
Q: What are the basic ingredients needed to make 3-ingredient energy bars?
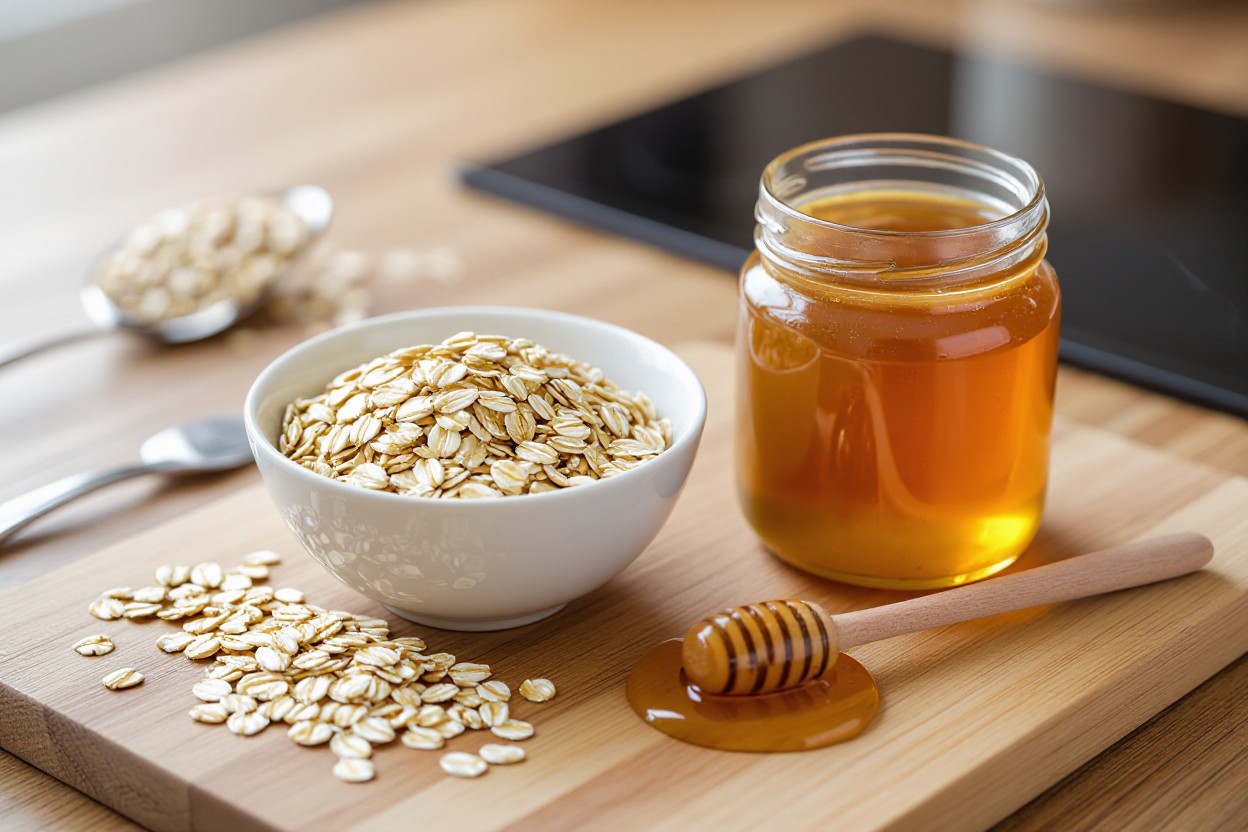
A: The basic ingredients typically include a binder such as nut butter (e.g., peanut or almond butter), a dry ingredient like oats or seeds, and a sweetener such as honey or maple syrup. These combine to create a nutritious and straightforward energy bar.
Q: How do I ensure the ingredients stick together without additional binders?
A: Using natural sticky ingredients like nut butters and honey ensures that the bars hold their shape well. Mixing the ingredients thoroughly and pressing the mixture firmly into the pan before chilling helps it set correctly.
Q: Can I customize the energy bars with different flavors or add-ins?
A: Yes, you can add spices like cinnamon, vanilla extract, or small amounts of dried fruit or nuts for variety. However, to keep them 3-ingredient, these additions must replace one of the core ingredients rather than being added on top.
Q: What is the best method to store homemade 3-ingredient energy bars?
A: Once the bars are set and cut, store them in an airtight container. They can be kept at room temperature for a couple of days, refrigerated for up to a week, or frozen for longer storage, which helps maintain freshness and texture.
Q: How long does it take to prepare these energy bars?
A: Preparation is quite quick, usually around 10 to 15 minutes for mixing and pressing the ingredients into the pan. However, chilling time in the refrigerator, which helps the bars firm up, typically takes about 1 to 2 hours.
Q: Are 3-ingredient energy bars suitable for people with dietary restrictions?
A: They can be adapted to fit many dietary needs. For example, using gluten-free oats makes them gluten-free, and selecting nut butters or seed butters can accommodate nut allergies. Always check ingredient labels to be sure.
Q: Can these energy bars be used as meal replacements or just snacks?
A: These energy bars are designed as quick energy snacks rather than full meal replacements. They provide carbohydrates, fats, and some protein, making them ideal for a boost during physical activity or between meals.